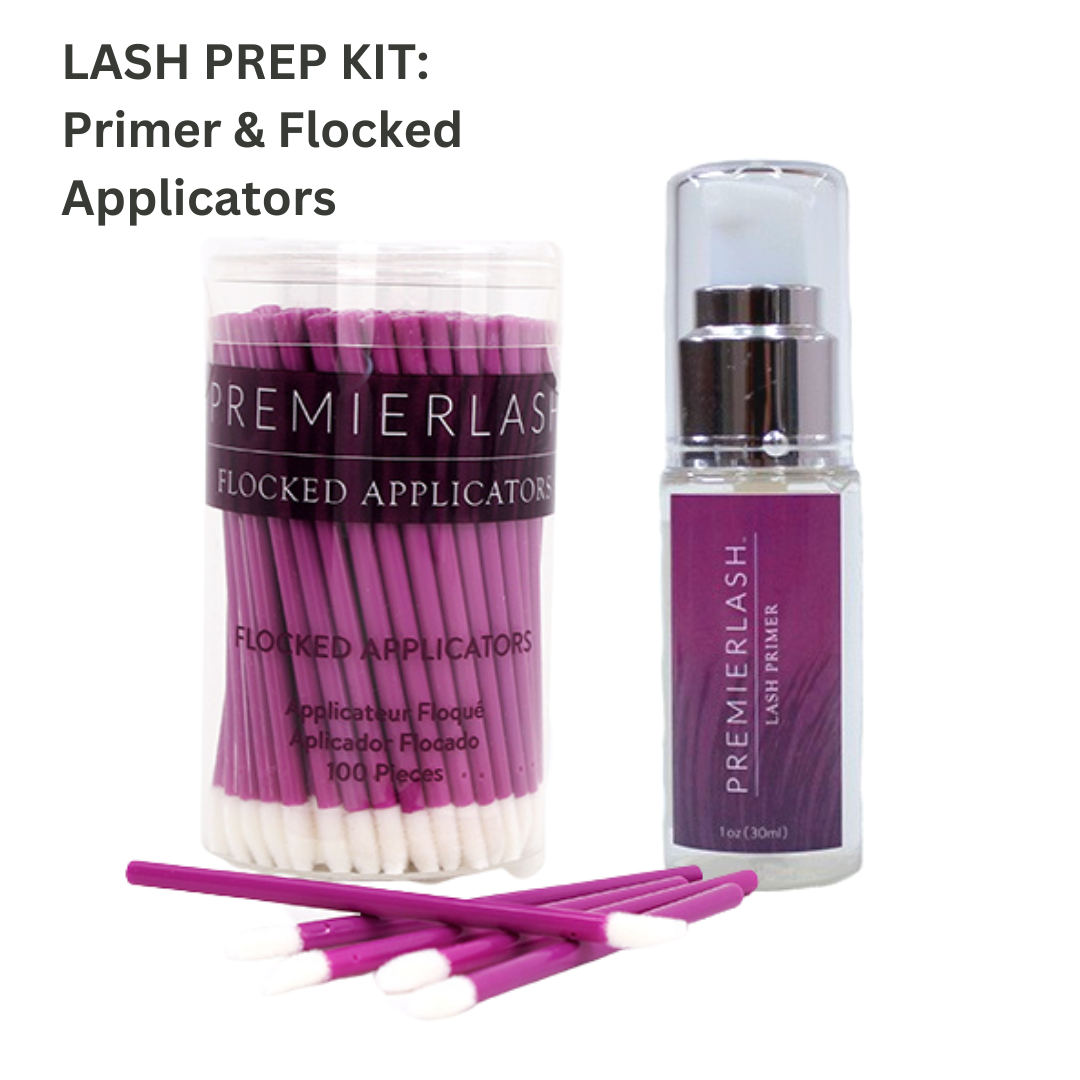
The Crucial Step: Cleaning and Priming Lashes Before Extensions
Jul 9th 2024
I cannot stress enough the importance of cleaning and priming your clients' lashes before applying extensions. This crucial step is often overlooked, but it can make a world of difference in the longevity and overall appearance of the lash extensions. Let's dive into why this step is so essential and how it can benefit both you and your clients.
Why Cleaning is Essential
1. Removing Dirt and Oils (Tea Tree & All Skin Types Cleansing Mousse)
Throughout the day, our lashes accumulate dirt, oils, and makeup residue. These impurities can create a barrier between the natural lash and the extension adhesive. If not removed, they can weaken the bond, leading to premature shedding of the extensions. Proper cleaning ensures that the adhesive can bond effectively to the natural lash, providing a strong and long-lasting hold.
2. Preventing Infections
Dirty lashes can harbor bacteria, which can lead to infections such as blepharitis. This condition causes inflammation of the eyelid and can be very uncomfortable for your clients. By thoroughly cleaning the lashes before application, you minimize the risk of infection and ensure a healthy, clean surface for the extensions.
3. Enhancing Adhesion
A clean lash surface allows the adhesive to bond more effectively. When the lashes are free from oils and residues, the adhesive can form a strong bond, resulting in longer-lasting extensions. This not only improves client satisfaction but also reduces the frequency of touch-ups, saving time for both you and your clients.
The Importance of Priming
1. pH Balance
Primers help to balance the pH level of the natural lashes, creating an optimal environment for the adhesive to bond. By ensuring the lashes are at the right pH level, you can enhance the adhesive's performance and longevity.
2. Removing Residual Oils
Even after cleaning, some oils and residues may remain on the lashes. Primers are specifically formulated to remove these last traces, ensuring a completely clean surface. This step is especially important for clients with naturally oily lashes, as it helps to prevent any interference with the adhesive.
3. Improving Retention
Primers can also help to condition the natural lashes, making them more receptive to the adhesive. This results in better retention of the extensions, meaning your clients can enjoy their beautiful lashes for longer periods between appointments.
How to Properly Clean and Prime Lashes
Start by using a gentle, oil-free lash cleanser to remove makeup, dirt, and oils from the natural lashes. Use a soft brush or applicator to ensure a thorough clean without causing irritation.
2. Rinse and Dry
Rinse the lashes with water and gently pat them dry with a lint-free cloth. Make sure the lashes are completely dry before moving on to the priming step.
Using a microbrush or applicator, apply a small amount of primer to the natural lashes. Focus on the base of the lashes where the adhesive will be applied. Allow the primer to dry completely before proceeding with the extension application.
Conclusion
Incorporating proper cleaning and priming into your lash extension routine is a game-changer. It not only ensures a clean and healthy environment for the extensions but also significantly enhances their longevity and appearance. As a lash expert, taking the time to clean and prime the lashes is an investment in the quality of your work and the satisfaction of your clients.
So, next time you're preparing to apply extensions, remember: clean, prime, and then lash on!

